![Инстаграм Блог - Исправьте свои проблемы [Советы и рекомендации]](https://wikigeneral.net/wp-content/uploads/2023/05/cropped-Инстаграм-Блог-Исправьте-свои-проблемы-Советы-и-рекомендации.webp)
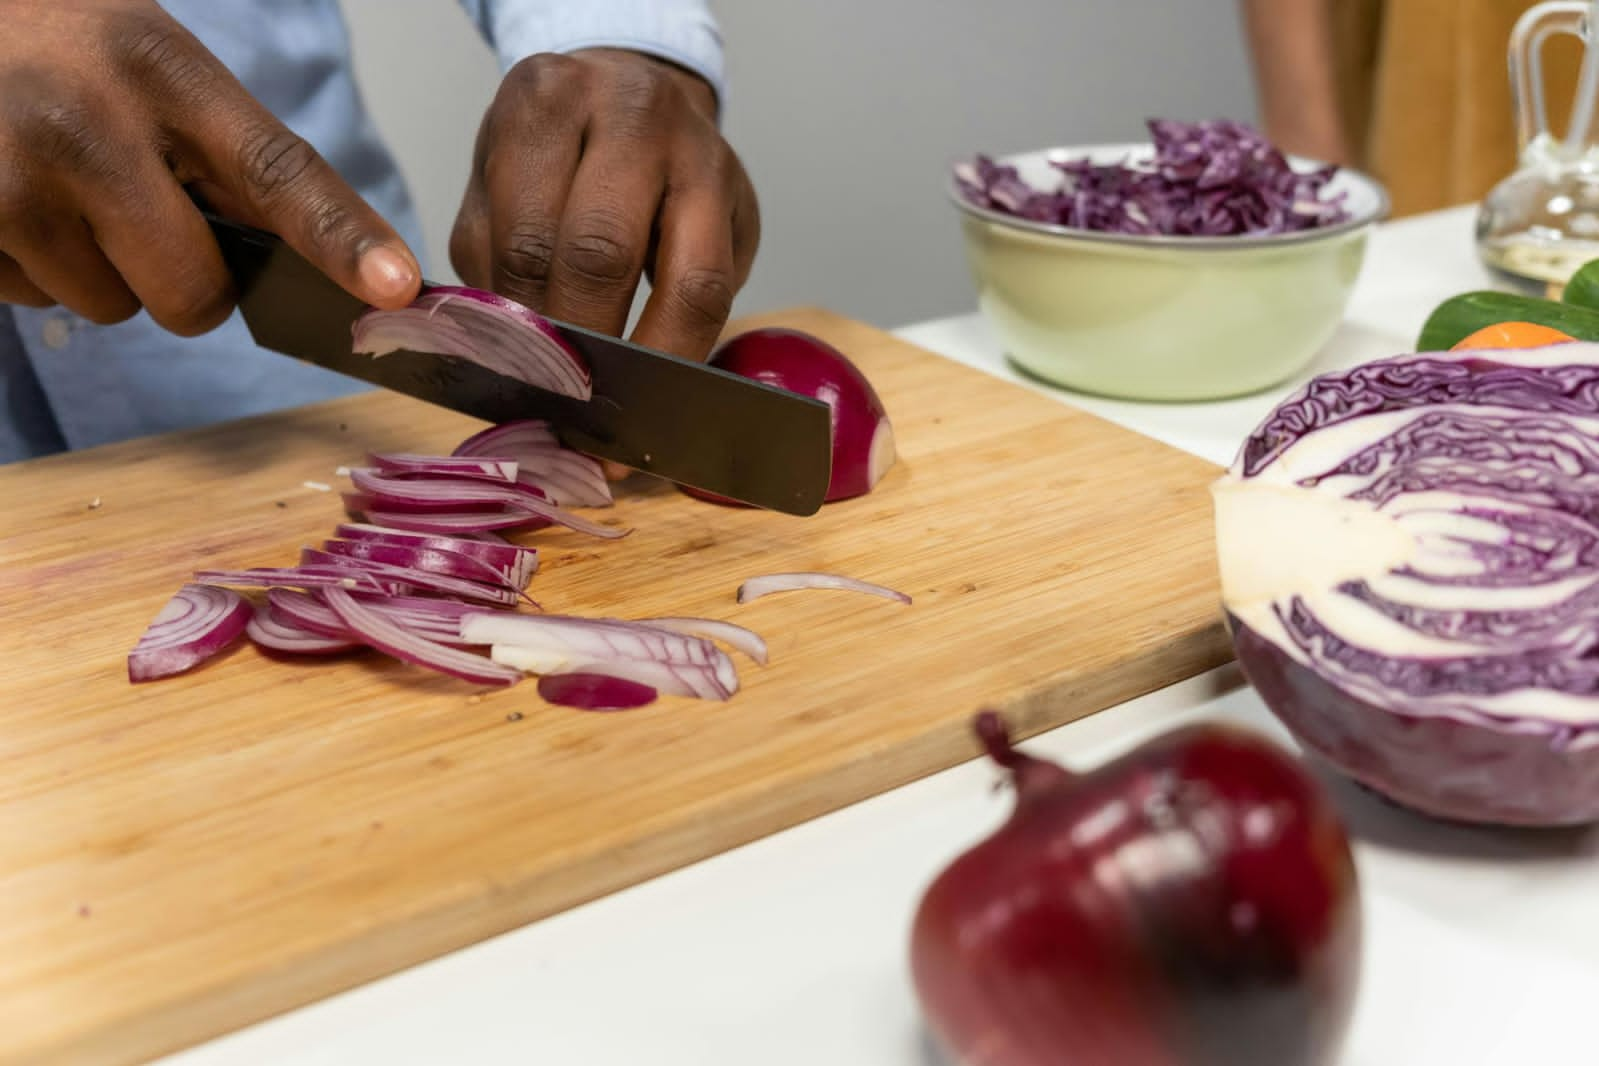
The art of cutting an onion among the most essential skills in the world of cooking and is a method that professional chefs learn at an early stage in their careers. Learning how cutting an onion in a professional manner will not only make the process faster and more efficient but also creates perfectly uniform pieces that improve the taste and presentation of your food. In this complete guide, we’ll guide you through the steps in cutting the onion as a pro chef.
Ingredients and Tools:
- Fresh onion
- Sharp knife
- Cutting board
Step 1: Gather Your Ingredients and Tools
Before you begin with cutting your onion make sure you have the ingredients you need and tools. You’ll need fresh onions, and for the perfect slice, consider best Japanese knives. These knives are known for their thin, sharp blades that make chopping vegetables a breeze. An uncluttered cutting board will also help you achieve clean cuts.
Step 2: Prepare the Onion
To cut the onion Follow these steps:
- Place your onion onto the board.
- Use a knife to cut off both the root and top of the stem. You can discard these ends.
Step 3: Cut the Onion in Half
By placing the flat end of the onion lying on your cutting table, cut it in half vertically from top to the bottom. This will result in two equal halves, with the root portion still intact.
Step 4: Peel the Onion
The peeling of the onion will be the second crucial step
- Place each onion hand on a cutting board, with the cut side up.
- Create a narrow diagonal cut in the onion towards the root’s end. Remove the small triangle piece from an outer layer.
- Make use of your hands to peel off the papery skin and reveal the fresh onion beneath. Continue peeling until the skin has been taken off.
Step 5: Make Lengthwise Cuts
Let’s begin cutting the onion as professional chefs:

- Using one of the onion halves, place them flatly on the cutting board, with the flat side facing down.
- Then, you can position your knife in a parallel position to the cutting board. Then cut vertically along the length, beginning at the point where the root was, and then moving towards the stem end. The cuts should be evenly spaced, and extend from one side of your onion towards the next but not completely. You should leave about 1/4 inch of the onion uncut at the stem’s end.
Step 6: Create Crosswise Cuts
- After you have made the cuts in length after cutting the lengthwise slices, turn your onion by 90° while leaving the slices intact. Next, cut horizontally across the onion:
- The knife should be positioned perpendicular to the cuts.
- Start by making evenly horizontal cuts and then slicing onions from one side towards the opposite. When you’ve done this the onion will begin to break into finely minced pieces.
Step 7: Repeat for the Other Half
Repeat the crosswise and lengthwise cutting process for the remaining portion of your onion. The result will be an impressively minced onions that are perfect for enhancing your meals.
Step 8: Store or Use
After you’ve chopped the onion in the manner of professional chefs You can then utilize the chopped pieces right away in your dish or save the pieces for use later on. To store, put the onion that you have minced in a sealed airtight container or an resealable plastic bag, and store in a refrigerator. If properly stored, the minced onion will stay fresh for several days.
Pro Tips:
- Make sure your knife is sharp to ensure clear and precise cuts.
- To finely mince it is recommended to cut the crosswise cuts more closely.
- The practice is the key to mastering professional-level precision and speed.
Conclusion: Mastering the Art of Onion Cutting
The art of cutting an onion as a professional chef something that can improve your culinary skills. If you practice with the step-by-step guide, you’ll be able to slice and dice onions with ease. If you’re simmering, sauteing as well as garnishing the dish, perfectly diced onions add just a bit of elegance to your meals and will make one feel as if you’re a chef in your kitchen.

![5 Essential Tips for Hiring Attorney In 2024 [A Guide]](https://wikigeneral.net/wp-content/uploads/2024/02/5-Essential-Tips-for-Hiring-Attorney-In-2024-A-Guide-768x510.png)